Among the many types of dreaded DAM tasks that exist, the tagging and wholesale migration of thousands of images and videos from one system to another is one of the most time consuming. What if you could have your asset taxonomy model applied to an asset in a matter of seconds? That’s the goal of Sitecore’s new AI grounded image tagging functionality within Content Hub. When your team has a Sitecore Stream license, you’ll be able to utilize this functionality from within the platform, and below, I’ll outline how to get started.
First, you need to enable the AI tagging functionality within the platform. To do this, you should be a superuser or Content Hub admin. Then, navigate to the “Settings” section in Content Hub, and click on the “AI Features” panel. When in the AI Features section, click on “Image tagging” on the left-hand side, then click “Enable”.

Now, we need to add an image tagging profile. Depending on your DAM setup, you may want to have different sets of taxonomy values auto-suggested by AI for different sets of assets. Let’s create a new image tagging profile by selecting the “+ Add AI tagging profile” button and giving our profile a name. We’ll also need to select the AI service used (as of right now, only Sitecore’s AI, “Sitecore-AI”, can be selected). Finally, we need to select our taxonomy fields we want to be able to supply to our AI service when suggesting tags. The fields that are pulled into this section are taxonomy members associated with the M.Asset schema.
With all this done, we can save our tagging profile and start the process of adding the “Tag with AI’ operation to our asset details page. Under the “Pages” section of the Settings page, we’ll need to find the “Asset Details” page. Then, we want to click on and edit the “Entity Operations” component on the page, by default in the Header zone (right), at the top-right of the page layout. If you can’t select it to edit it, make sure you click on the “Enable custom settings” icon (looks like a person) to enable the ability to edit the component. Now we need to add our operation. Click on the “Add operation” button at the top left, then find the “Tag with AI” operation, and click on it. Once it’s been added, select our tagging profile found in the “AI profile” option list, then save your component settings by clicking the “Save” button at the top right.
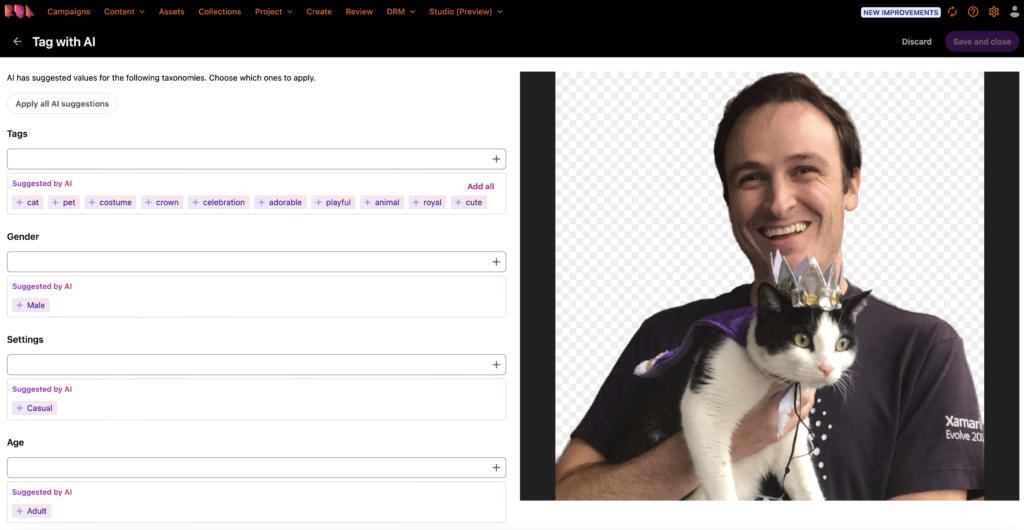
And that’s it! Now, you’ll be able to find the “Tag with AI” operation button at the top-right of any asset details page. After clicking on it and letting it think for a few short seconds, you’ll see a list of your taxonomy fields you selected in your AI tagging profile, followed by what Sitecore AI thinks should be the selected tag for the image. You can simply click on the tags you want to add, or select “Apply all AI suggestions” to have it automatically apply every suggested tag.
Keep in mind that any user MUST have “Update” permissions for M.Asset and M.File entities with the appropriate visibility conditions set to be able to access this operation. If they don’t have this permission via the user group settings for a user group assigned to the user, they will NOT be able to see it at all.
Latest Blog Posts
Explore Lance Hayden’s recent blog posts.
-
Sitecore Connect and Content Hub: Removing a Background Using AI
I’ve recently discovered the joy of using Sitecore Connect to interface with AI APIs,…
-
Sitecore Content Hub: How to Enable AI Grounded Image Tagging
Among the many types of dreaded DAM tasks that exist, the tagging and wholesale…
-

Content Hub: Show Users Assets While Under Review
One common request clients have when working with the out-of-the-box asset lifecycle (that is…
Leave a Reply